
Step-by-Step E-bike Conversion Guide for Beginners and DIY Kits
- George Liu
- May 5
- 3 min read

Converting a regular bicycle into an electric bike can transform your daily commute, weekend rides, or fitness routine. It offers the benefits of motorized assistance while keeping the charm and exercise of cycling. If you have a standard bike and want to upgrade it without buying a new e-bike, this guide will walk you through the entire process. You will learn what kind of bike works best, what tools and parts you need, how to install the electric components, and how to test and run your new e-bike safely.
Conditions for a Normal Bike to Become an E-Bike
Not every bicycle is suitable for conversion. Before you start, check these key conditions:
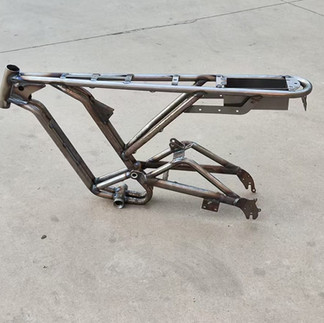
Frame Type and Material
A sturdy frame made of steel or aluminum is ideal. Carbon frames may not handle the extra stress well. Avoid very old or fragile frames.


Wheel Size and Type
Most conversion kits fit standard 26-inch or 700c wheels. Check your bike’s wheel size and ensure compatibility with the motorized wheel or hub.


Brake System
Your bike should have reliable brakes, preferably disc brakes or at least strong rim brakes. The added speed and weight require effective stopping power.


Gear System
Bikes with multiple gears work well because the motor can assist in different conditions. Single-speed bikes can be converted but may have limited performance.


Space for Battery Mounting
You need room on the frame or rear rack to mount the battery securely. Check if your bike has enough clearance and mounting points.


What You Must Have Before You Convert
Gathering the right parts and tools before starting will save time and frustration. Here’s what you need:
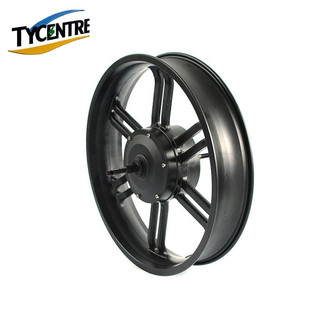
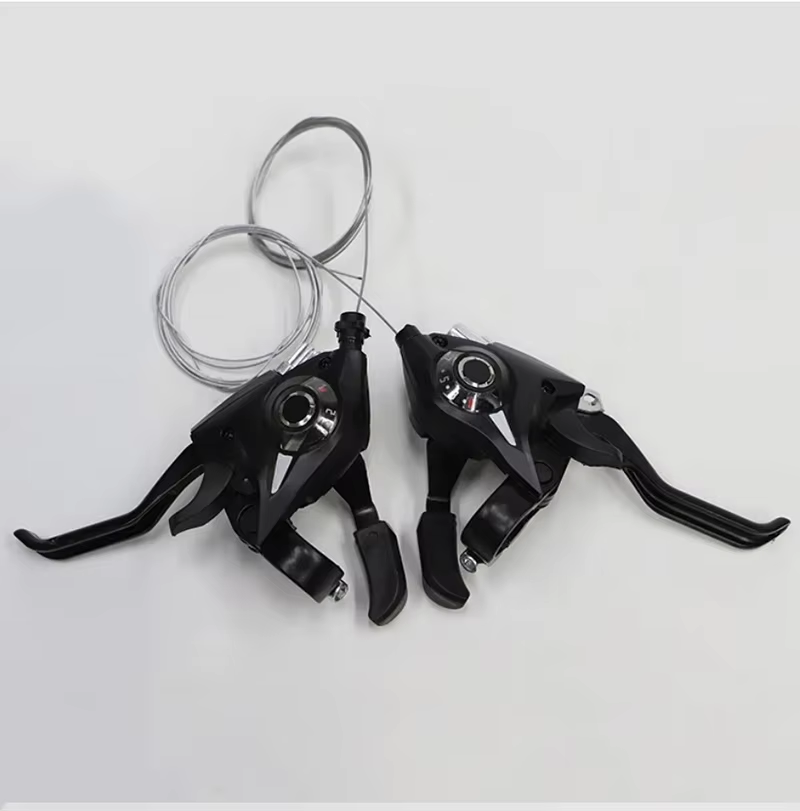
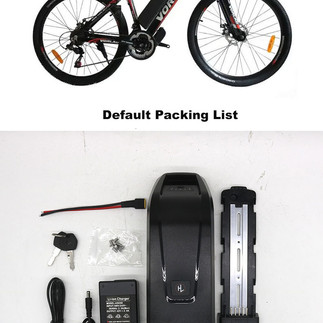
Electric Conversion Kit
This usually includes a motorized wheel or hub motor, a battery pack, a controller, throttle or pedal-assist sensor, and wiring. Choose a kit that matches your bike’s wheel size and your power needs (250W to 750W is common for beginners).


Basic Tools
Wrenches, screwdrivers, Allen keys, tire levers, and a bike pump. You may also need a torque wrench for precise tightening.

Safety Gear
Gloves and eye protection during installation.
Battery Charger
Make sure the charger matches your battery specifications.
Optional Accessories
A battery mount or rack, cable ties, and electrical tape for neat wiring.

How to Convert Your Bicycle Step by Step | Step-by-Step E-bike Conversion Guide for Beginners and DIY Kits
Follow these steps carefully to convert your bike into an e-bike:
1. Remove the Existing Wheel (If Using a Motorized Wheel)
Shift your bike to the smallest gear to release tension on the chain.
Use the appropriate wrench to loosen the nuts or quick-release lever.
Carefully remove the wheel from the frame.
2. Install the Motorized Wheel
Place the motorized wheel in the fork or rear dropouts.
Align the axle properly and tighten the nuts or quick-release securely.
Make sure the wheel spins freely without rubbing the brakes or frame.
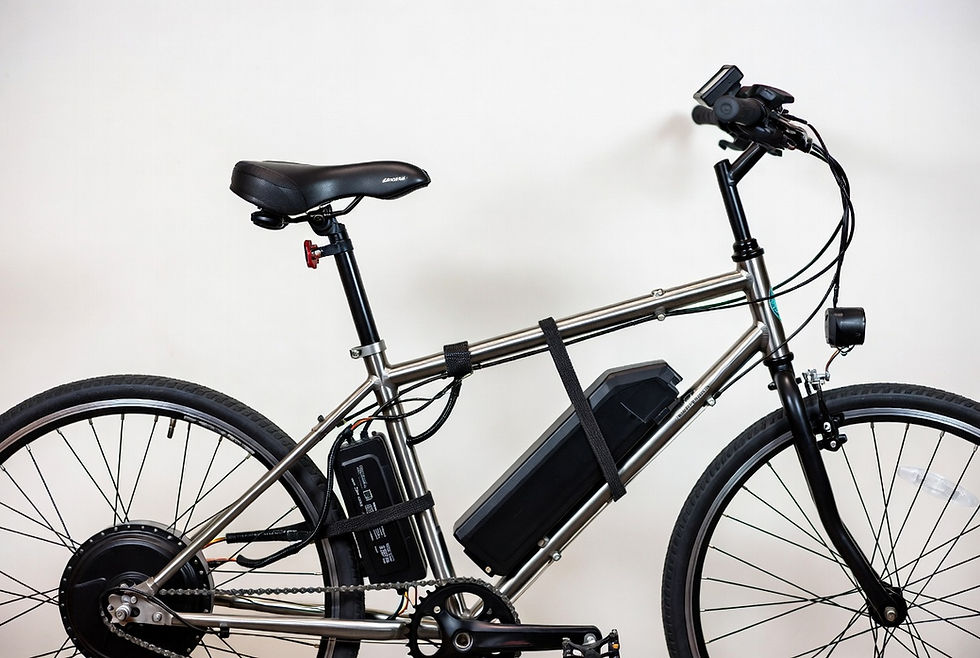
3. Mount the Battery
Attach the battery pack to the frame’s downtube or rear rack using the provided brackets.
Secure it tightly to avoid movement during rides.
4. Install the Controller and Wiring
Mount the controller in a protected spot on the frame.
Connect the motor wires to the controller according to the kit’s instructions.
Route the wiring neatly along the frame using cable ties.
Connect the battery to the controller last.
5. Attach the Throttle or Pedal Assist Sensor
For throttle kits, mount the throttle on the handlebar.
For pedal-assist kits, install the sensor near the crankset.
Connect the sensor wiring to the controller.
6. Check All Connections
Double-check all electrical connections for tightness and correct placement.
Ensure no wires are pinched or exposed.
Testing Your New E-Bike

Before hitting the road, test your e-bike carefully: | Step-by-Step E-bike Conversion Guide for Beginners and DIY Kits
Power On
Turn on the battery and controller. Check if the motor responds to the throttle or pedal assist.
Brake Test
Test the brakes to make sure they work well with the motor engaged.
Short Ride
Take a slow ride in a safe area to feel the motor assistance and check for any unusual noises or issues.
Battery Check
Monitor battery performance and charging to ensure everything functions properly.
Running and Maintaining Your Converted E-Bike
To keep your e-bike running smoothly:
Regularly Inspect
Check the motor, battery, and wiring for wear or damage.
Charge Properly
Follow battery charging guidelines to maximize lifespan.
Maintain Brakes and Tires
The extra speed and weight mean brakes and tires wear faster. Replace or adjust as needed.
Store Safely
Keep your e-bike in a dry place and avoid extreme temperatures for the battery.


Comments