


Kids ATV Academy 04: Unboxing & First-Time Setup—Getting Your Electric Mini ATV Ready

Bringing home a new electric quad is an exciting milestone for your family. However, ensuring a safe and flawless first ride requires a proper setup. In this session of our Kids ATV Academy, we provide a step-by-step, beginner-friendly guide to unboxing and assembling your new vehicle, ensuring that every safety mechanism works perfectly before your child hits the trail.
1. Unboxing Your Electric Mini ATV and Essential Pre-Assembly Checks
When you first unbox your kids electric ATV, it will arrive partially assembled in a protective metal frame or heavy-duty crate. Carefully remove the packaging materials and inspect the vehicle for any shipping damage. Before proceeding, locate the basic tool kit usually provided with the quad. Your first task is to stabilize the vehicle and prepare a clean, flat workspace to mount the wheels and handlebars.

2. Connecting the Battery Pack and Inspecting Electrical Fittings
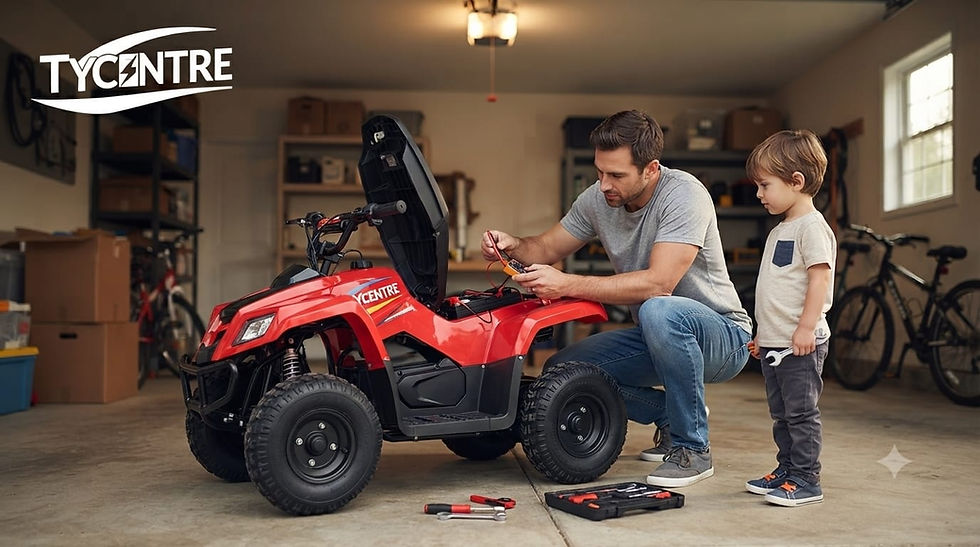
Unlike gas models, a kids electric quad relies entirely on its battery configuration. Locate the main battery compartment underneath the seat or chassis. Ensure the main wiring harness is securely connected to the battery terminals, and check that the fuse is firmly pushed into its holder. Inspect the wiring connected to the ebike controller system to make sure no plugs have loosened during transport, which ensures smooth power delivery to the hub motor.

3. Testing the Adjustable Speed Governor and Safety Switches
Safety is our absolute priority at Tycentre Vehicles. Before allowing your child near the machine, you must test the built-in adjustable speed governor lock. Insert the parental speed key into the governor switch (usually located under the bodywork or near the battery) to set the quad to its lowest speed limit for training. Additionally, test the brake cut-off switches by pulling the brake levers—the motor should instantly cut power when brakes are applied.

4. Setting Correct Tire Pressure and Aligning the Front Wheels
For optimal stability and to prevent rolling over, check the tire pressure using a low-pressure gauge. Kids ATVs require much lower pressure than standard bicycles—typically between 5 to 7 PSI depending on the model. Finally, do a quick visual check of the front wheel alignment (toe-in). The wheels should point slightly inward or perfectly straight to give your child predictable, easy steering on grass, dirt, or gravel tracks.

5. Trusting Tycentre Vehicles for Long-Term Off-Road Fun: Electric Kids ATV Unbox Mini ATV
At Tycentre Vehicles, our commitment to your family goes far beyond the initial purchase. We design our entire lineup—from kids mini electric ATVs and gas quads to adult vehicles, ebikes, and mobility scooters—with reliable engineering. Every vehicle we sell is backed by our exceptional after-sales support. We supply an extensive stock of genuine ebike spare parts, replacement batteries, controllers, and chargers, ensuring your child’s favorite ride stays ready for action for years to come. Electric Kids ATV Unbox Mini ATV


Comments